FRED Eco II Help & Support
MENU ☰
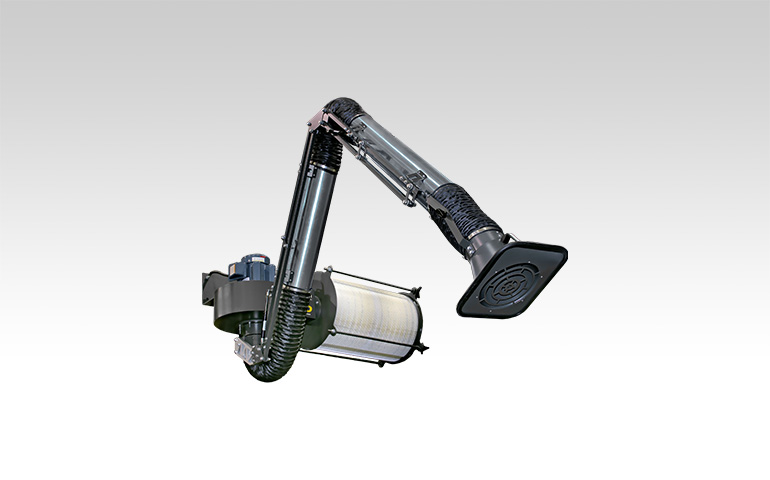
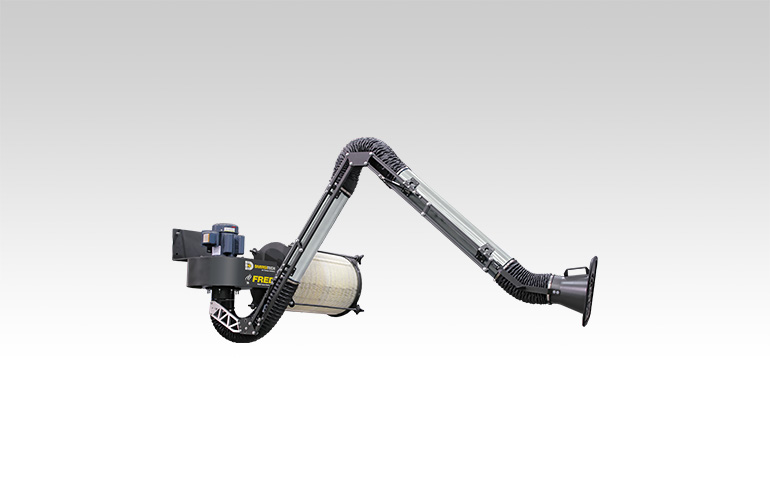
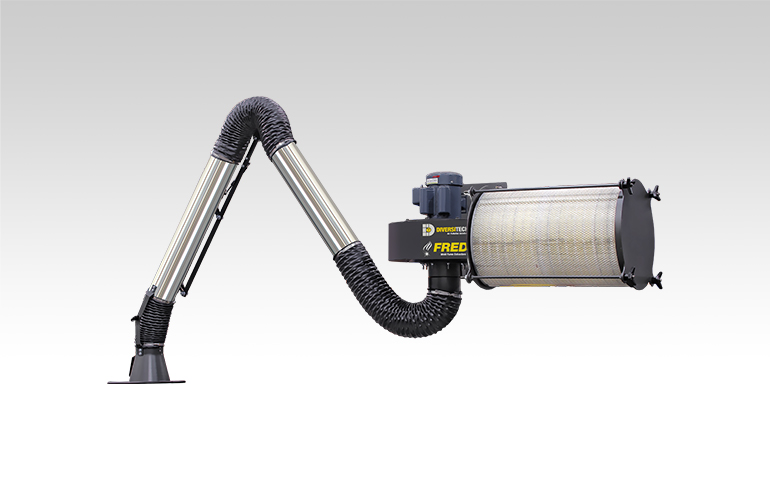
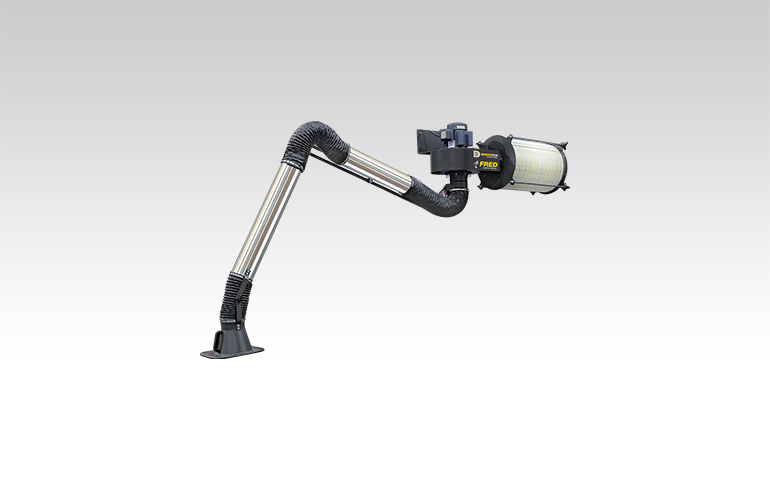
Learn how to get the most out of your FRED Eco II Wall-Mounted Fume Extractor and troubleshoot common problems.
See our help topics and support videos below, and download the FRED Eco II product guide and owner's manual.
How to..
Unpack Unit
- Inspect carton for any possible damage during transit.
- Use forklifts or truck to move.
- Remove packing material.
- Do not tip or invert while handling.
- You’ll find the item serial number, model and electrical ratings located on the nameplate. Write down information on the provided Maintenance Record found in the owner’s manual.
Installation
Tools required:
- 7/16 Socket or Wrench.
- 9/16 Socket or Wrench.
- Torque Wrench.
Arm-to-Blower Direct Installation
- Choose a location:
- Designate a location for the unit near the operator that is sufficiently close to a grounded power source.
- Choose an attachment point (column, platform, or wall) that will support the weight and force of the equipment.
- Ensure sufficient minimum clearance to the right of the unit.
- Attach capture arm to swivel base:
- Mount Swivel Base to Motor Blower Assembly.
- Tighten all Bolts (8) with Washers (8).
- Torque each bolt to 23 N m
- Attach J-Bracket to Arm Swivel:
- Mount J-Bracket to Swivel Base.
- Tighten all Bolts (8) with Washers (8) and Nuts (3).
- Torque each bolt to 34 N m
- Blower to Attachment Point:
- Motor Blower Assembly (1).
- Attachment Point Anchors (Not Included).
- Attach Filter to Blower Assembly:
- Place Filter in final location.
- Install the Connecting Rods, ensuring the Filter is not damaged during installation.
- Tighten left Knobs to hold Connecting Rods.
- Install Right Filter Bracket.
- Tighten right Knobs to Lock Filter.
- Attach Capture Arm to Swivel Base. (J-Bracket).
- Attach Filter to Blower Assembly:
- Thread Bolts (3) with Washers (3) through Mounting Bracket and J-Bracket.
- Thread Washers (3) and Locking Nuts (3) to Bolts (3).
- Tighten all Bolts (3) to Locking Nuts (3).
- Torque each bolt to 40 N m.
- Install Flex Hose:
- Mount Flex Hose to Swivel Base and capture Arm.
- Tighten Both Hose Clamps.
Arm-to-Wall Direct Installation
- Choose a location:
- Designate a location for the unit near the operator that is sufficiently close to a grounded power source.
- Choose an attachment point (column, platform, or wall) that will support the weight and force of the equipment.
- Ensure sufficient minimum clearance to the right of the unit.
- Attach capture arm to swivel base:
- Mount Swivel Base to Motor Blower Assembly.
- Tighten all Bolts (8) with Washers (8).
- Torque each bolt to 23 N m.
- Blower to Attachment Point:
- Motor Blower Assembly (1)
- Attachment Point Anchors (Not Included).
- Attach Filter to Blower Assembly:
- Place Filter in final location.
- Install the Connecting Rods, ensuring the Filter is not damaged during installation.
- Tighten left Knobs to hold Connecting Rods.
- Install Right Filter Bracket.
- Tighten right Knobs to Lock Filter.
- Mount Bracket in Suitable Location Relative to FRED-ECO.
- Attach capture arm to swivel base:
- Mount Flex Hose to Swivel Base and Capture Arm.
- Tighten Both Hose Clamps.
- Attach capture arm to swivel base:
- Mount Swivel Base to Remote Mount Bracket.
- Tighten all Bolts (8) with Washers (8).
- Torque each bolt to 23 N m.
- Attach J-Bracket to Arm Swivel:
- Mount J-Bracket to Swivel Base.
- Tighten all Bolts (3) with Washers (6) and Nuts (3).
- Torque each bolt to 34 N m.
- Attach Capture Arm to Swivel Base. (J-Bracket):
- Insert J-Bracket between Capture Arm Mounting Bracket.
- Thread Bolts (3) with Washers (3) through Mounting Bracket and J-Bracket.
- Thread Washers (3) and Locking Nuts (3) to Bolts (3).
- Tighten all Bolts (3) to Locking Nuts (3).
- Install Flex Hose:
- Mount Flex Hose to Swivel Base and capture Arm.
- Tighten Both Hose Clamps.
Before you use your unit, you’ll want to perform a function test to verify it’s in working order.
- Confirm correct Voltage and Amperes.
- Turn the power switch to “On”.
- Look to confirm that the unit is level and stable. Verify nothing is obstructing extraction path.
- Listen closely to the motor and suction sound of the unit. Are they within the expected noise limits?
- Place hand on top of the unit and feel for any unexpected vibration. Place your hand in front of the intake surface to confirm the expected levels of suction.
- Turn off power and disconnect input power cord.
- Support the filter bracket while unbolting the knobs from the connecting rods.
- Remove the filter bracket.
- Remove the connecting rods to ensure the filter is not damaged during removal.
- Remove filter gently and place in a bag/container.
- Clean filter:
- Use clean/dry air only at a pressure not more than 550 kPa at 30 cm from media.
- Direct the compressed air through the filter from the clean side, running the nozzle up and down the filter pleats.
- Do not bring the nozzle in contact with the filter media to avoid damage.
- Inspect filter for any damage and replace if necessary.
- If necessary, clean filter brackets of dirt and debris.
- Reassemble:
- Install the clean filter.
- Install the connecting rods, ensuring the filter is not damaged during installation.
- Install the filter bracket.
- Install the Knobs on the connecting rods with sufficient tightness.
- Place Filter in final location.
- Install the Connecting Rods, ensuring the Filter is not damaged during installation.
- Tighten left Knobs to hold Connecting Rods.
- Install Right Filter Bracket.
- Tighten right Knobs to Lock Filter.
Troubleshooting
- Check leads at input power source.
- Check leads at unit.
- If the problem continues, contact Diversitech support for assistance.
- Check Hood inlet and Capture tubes. Clean if needed.
- Check filters. Replace if necessary.
- If the problem continues, contact Diversitech support for assistance.