Solder-Vac II Help & Support
MENU ☰
Learn how to get the most out of your Solder-Vac II and troubleshoot common problems.
See our help topics and support videos below, and download the Solder-Vac II product guide and owner's manual.
How to..
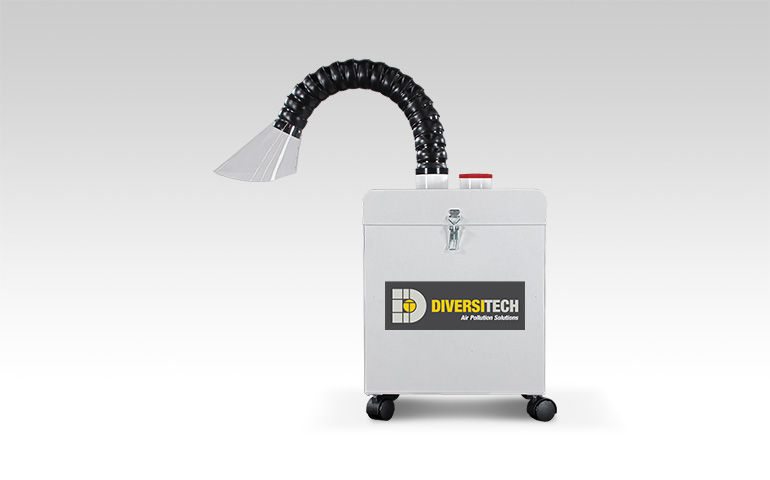
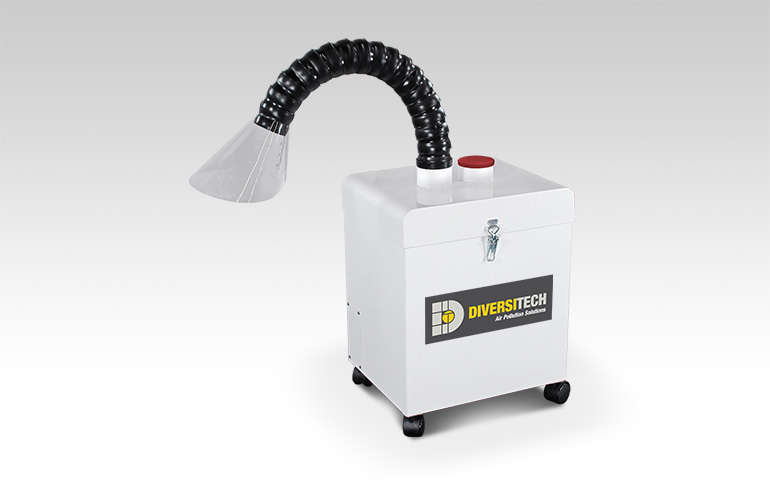
Unpack Unit
- Inspect carton for any possible damage during transit.
- Use forklifts to move.
- Do not tip or invert while handling.
- You’ll find the item serial number, model and electrical ratings located on the nameplate. Write down information on the provided Maintenance Record found in the owner’s manual.
Installation
- Unpack capture arm, hood and base.
- Install pads and filters:
- Install dust pad first.
- Remove plastic wrap on odor filter. Install second.
- Install HEPA filter third.
- Install unit lid:
- Install fume extraction arm into inlet.
- OR, if installing arm onto workbench, install flex hose into inlet.
- Install Extraction Arm (c/w slide-gate):
- If unit mounted, fume extraction arm can be installed directly onto unit’s lid.
- OR, if Bench-mounted, Arm can be installed onto Z bracket.
- Z bracket can be installed onto workbench.
- 6-foot Flex Hose connects fume extraction arm to unit lid.
Filter Replacement
- Open top with Phillips screwdriver.
- Carefully pull up filters, drop clean filters gently into place:
- Confirm there are no obstructions in filter track.
- HEPA filters should be installed with gaskets facing down on filter tracking.
- Careful to not damage exposed portions of the HEPA filter. Do not bend aluminum separators.
Replace chemical filter approximately every twelve months OR immediately following any detection of Rhodium or other odor from the discharge of the system.
To Replace Your Odor Filter
- Ensure that the unit is unplugged, open door with appropriate tool.
- Pull out the existing S-SV2-0003 or S-SV2-0004, remove new S-SV2-0003 or S-SV2-0004 from the box that it was shipped in.
- Reinsert new filter back into the system (ensure airflow arrows are pointing up).
- Close door and verify that an airtight seal is maintained.
To Refill Existing S-SV2-0003 or S-SV2-0004 Filter Cell with New Odor Filters
- Pull out existing S-SV2-0003 or S-SV2-0004 filter.
- Unscrew the two top panel covers and lift off cover.
- Pour out used odor filter (wearing a dust mask is recommended).
- Refill container with fresh odor filters.
- Replace the 2 panel covers and re-insert into unit.
IMPORTANT: Filter disposal is the responsibility of the end-user. Please contact local authorities.
Resetting “Service Filter(s)” Alert
- Ensure filter access door is closed.
- Plug power back to the unit.
- Press & hold SPEED UP & DN simultaneously until unit beeps.
- Hold for 10+ seconds, when panel is beeping continuously, release buttons.
- You are now in RESET MENU, in this condition, “System ON” LED is flashing quickly.
- Press SPEED DN- 2 times until “Service Filter(s)” LED is flashing.
- Press & HOLD POWER button while “Service Filter(s)” LED is flashing & unit is beeping continuously.
- Release, when LED stops flashing & stops beeping.
Troubleshooting
- There may be a faulty power supply. Check breaker box.
- Check the return or supply grille to see if it is blocked. Remove any obstruction.
- Check HEPA filter to see if it’s properly installed. Refer to owner’s manual for proper installation.
- Check to see if a fuse is blown. Replace any blown fuses.
- Check to see if the unit is plugged into receptacle. If not, plug unit in.
- If the problem continues, contact Diversitech support for assistance.
- The blower wheel may be contacting the cone. Realign or replace the wheel.
- The fan isolators may be loose or off. Replace isolator.
- Check to see if there are any obstructions in system. If so, remove them.
- The filters may be clogged. Replace filters.
- Check filters. Replace filters and reset microprocessor if needed.
- If there is excessive airflow, then the filters are not in place. Install filters.