D-Mister 4000V Help & Support
MENU ☰
Learn how to get the most out of your D-Mister 4000V.
See our help topics and download the D-Mister 4000V product guide and owner's manual.
How to..
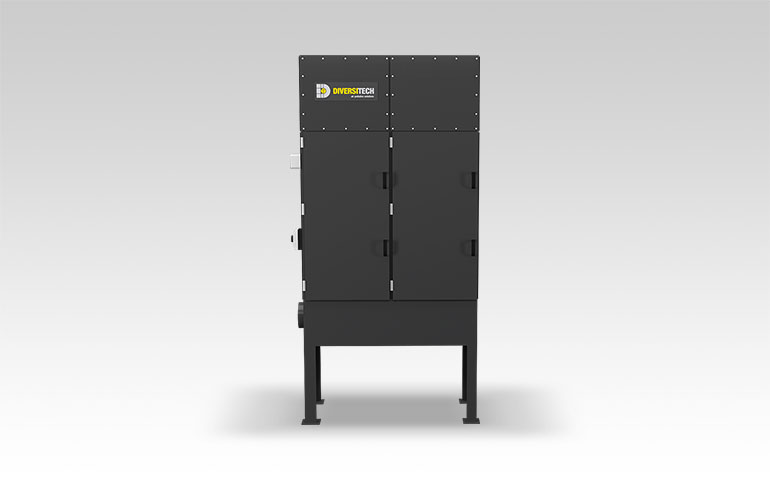
Unpack Unit
- Inspect unit carefully for any possible damage during transit. Some damage may not be noticeable until unit is installed.
- Notify shipper of any damage immediately. Claims must be filed within 15 days.
Installation
- The DM Oil Mist Collector requires some mechanical installation:
- Units are typically mounted on the optional floor stand or rod hanging brackets.
- Additional duct work may be required to complete installation. Consult your dealer or the factory for the correct materials to use for your application:
- A qualified mechanical contractor should be used to ensure unit installation meets all applicable building codes.
- Each unit is supplied with a 1-1/4 NPT drain in the sump of the unit:
- The drain must be correctly connected to the machine tool sump or external reservoir prior to operation of the mist collector.
- The inlet plenum of the collector is not intended to act as a reservoir for the collected coolant and must drain properly for the unit’s performance.
- A trap should be used to make sure air does not flow through the drain into the collector.
- A good alternative to a standard p-trap, is to submerge the end of the drain line, into at least 4 inches of coolant. This will prevent backflow and also eliminate clogs which may form in a p-trap.
- Using a vacuum, remove dirt accumulations in and around vent openings:
- Dirt accumulations can cause the motor to overheat and pose a fire hazard.
- Enclosed motors can be cleaned with an air jet (wear eye protection).
- Periodically inspect the installation:
- Check for dirt accumulations; unusual noises or vibration; overheating; worn or loose couplings, sheaves and belts; high motor current; poor wiring or overheated connections; loose mounting bolts or guards; and worn motor starter contacts.
- Dayton ball-bearing motors without lubrication provision do not require periodic relubrication. Where motor has provision for bearing lubrication, lubricate as follows (frequency depends on use):
- After stopping motor and disconnection power, thoroughly wipe the housing around both of the motor bearings, filler and drain plugs (on TEFC) ratings, remove fan cover for access to plugs.
- Remove filler and drain plugs and install a 1/8” pipe thread lube fitting in filler hole.
- Using a low pressure grease gun, pump new grease into motor until it appears at the drain hole.
- Run motor for several minutes to discharge excess grease. Shut motor OFF, replace filler and drain plugs, and reinstall fan cover.
Troubleshooting
- You may have a blown fuse:
- Replace with time-delay fuses.
- Check for grounded winding.
- The voltage may be too low at motor terminals due to line drop. Consult local power company.
- Increase wire size.
- Check for poor connections.
- The overload in motor starter may have been tripped:
- Check and reset overload relay in starter.
- Check heater rating against motor nameplate current rating.
- Overload (internal thermal protector) may have been tripped:
- Check motor load.
- If motor has an automatic or manual reset thermal protector, check if tripped.
- Improper line connections:
- Check connections against diagram supplied with motor.
- Check to see if the motor is overloaded:
- Reduce load or increase motor size.
- If the problem continues, contact Diversitech support for assistance.
- The motor may not be applied properly:
- Consult motor service firm for proper type.
- Use a larger motor.
- The voltage may be too low at motor terminals:
- Increase wire size.
- Check for poor connections.
- Check for voltage imbalance (3-Phase).
- The starting load may be too high:
- Check load motor is carrying at start.
- There may be excess loading and/or tight belts:
- Reduce load and/ or adjust belts.
- Increase motor size.
- The motor may be defective:
- Repair or replace.
- The starting torque may be inadequate or the inertia load may be too high:
- Replace with larger motor.
- If the problem continues, contact Diversitech support for assistance.
- Check to see if the motor is overloaded:
- Reduce load or increase motor size.
- Check the motor voltage as it may be too low:
- Verify that nameplate voltage is maintained.
- If the problem continues, contact Diversitech support for assistance.
- Check the motor shaft to see if it’s misaligned:
- Realign if needed.
- The 3-phase motor may be running on single phase:
- Check for open circuit, blown fuses or imbalanced voltages.
- The voltages may be high or imbalanced:
- Check wiring connections. Consult local power company.
- The bearings may be worn, damaged, dirty or overloaded:
- Replace bearings.
- Check loading and alignment.
- Check winding to see if it’s defective. Check the shaft to see if it’s bent or bowed:
- Repair or replace.
- Check for a loose sheave or misaligned coupling:
- Tighten set screw(s); realign coupling.
- If the problem continues, contact Diversitech support for assistance.
- The motor may be overloaded:
- Clean motor.
- Increase motor size.
- There may be dirt blocking the motor:
- Clean motor.
- If 3-Phase, one phase may be open:
- Check lines for open phase.
- Check voltage with motor disconnected. One fuse may be blown.
- There may be an imbalanced supply voltage:
- Check for faulty connections. Voltage on all three lines should be balanced within 1%. Balance single phase loads.
- There may be a faulty connection:
- Clean, tighten or replace.
- The voltage may be too high or too low:
- Check voltage at motor; it should not be more than 10% above or below rated.
- The motor may be defective:
- Repair or replace.
- If the problem continues, contact Diversitech support for assistance.
- There is a foreign object in blower:
- Remove object.
- The wheel may be rubbing on housing:
- Center the wheel.
- There may be a loose wheel or sheave on shaft:
- Tighten all set screws.
- The motor or the blower is not secure:
- Tighten mounting.
- The belt(s) may be too loose or too tight:
- Adjust tension.
- The belt(s) may be worn:
- Replace belt(s).
- There may be mismatched belt(s):
- Replace belt(s).
- The bearings may be loose or worn:
- Replace bearings.
- The bearing or drive alignment may be the cause:
- Realign bearing.
- There may be an accumulation of material on the wheel:
- Clean wheel.
- The motor may be out of balance:
- Replace.
- The wheel may be out of balance:
- Replace or rebalance.
- The sheaves may be eccentric or out of balance:
- Replace.
- If the problem continues, contact Diversitech support for assistance.
- The blower speed may be too low:
- Check for correct drives.
- Check to see if the dampers or registers are closed. If so, open.
- Inspect filters to see if they are dirty or clogged:
- Clean or replace.
- Check for leaks in duct work:
- Repair if needed.
- Check for elbows, cabinet walls, or other obstructions:
- Correct if needed.
- Check for belt slippage:
- Adjust or replace if needed.
- If the problem continues, contact Diversitech support for assistance.
- Blower speed may be too high:
- Check for correct drives.
- Filter(s) may not be in place:
- Install filter(s).
- If the problem continues, contact Diversitech support for assistance.
- There may be a blown fuse or open circuit breaker:
- Replace or reset.
- The fan belt may be broken:
- Replace.
- The motor and/ or capacitor may be defective:
- Replace.
- If the problem continues, contact Diversitech support for assistance.
- The blower speed may be too high or motor horsepower may be too low:
- See Specifications for correct drives and HP.
- The system static pressure may be too low:
- Check static pressure and correct system.
- The problem may be shorted windings in motor:
- Replace.
- If the problem continues, contact Diversitech support for assistance.