XA2 Series Help & Support
MENU ☰

Learn how to get the most out of your XA2 Articulated Capture Arm and troubleshoot common problems.
See our help topics and support videos below, and download the XA2 Articulated Capture Arm product guide and owner's manual.
How to..
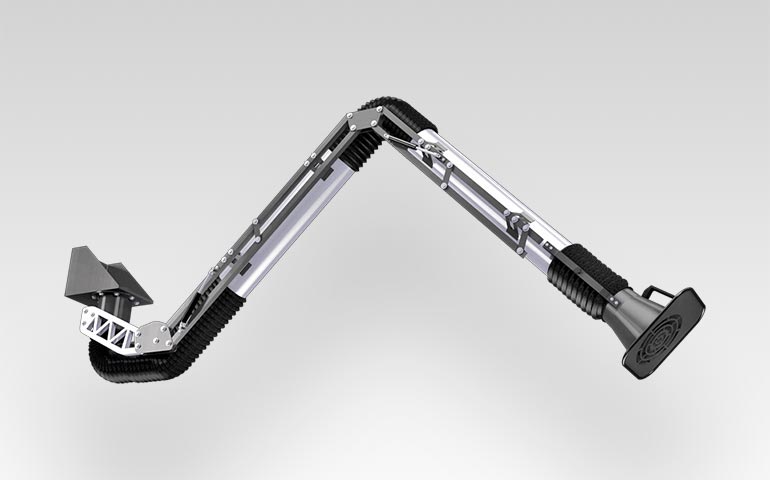
Unpack Unit
- Inspect carton for any possible damage during transit and remove packing material.
- Remove packing material.
- Do not tip or invert while handling.
- You’ll find the item serial number, model and electrical ratings located on the nameplate. Write down information on the provided Maintenance Record found in the owner’s manual.
Installation
- Tools required:
- 7/16 Socket or Wrench
- 9/16 Socket or Wrench
- Torque Wrench
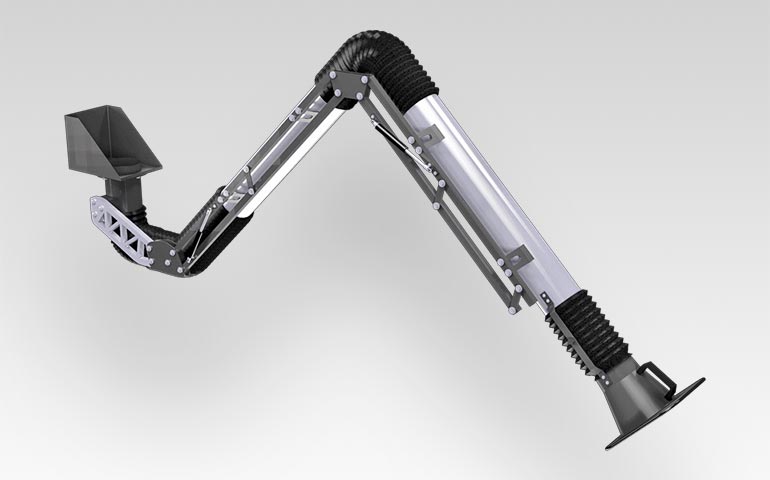
Arm to Remote Mount Bracket Installation
- Unpack capture arm, hood, and base
- Wall mount bracket standard assembly:
- Mount Swivel Base to Remote Mount Bracket.
- Tighten all Bolts (8) with Washers (8).
- Torque each bolt to 23 N m.
- Attach swivel base to remote mount bracket.
- Attach capture arm to swivel base:
- Mount Swivel Base to Remote Mount Bracket.
- Tighten all Bolts (8) with Washers (8).
- Torque each bolt to 23 N m.
- Attach J-Bracket to Arm Swivel:
- Mount J-Bracket to Swivel Base.
- Tighten all Bolts (8) with Washers (8) and Nuts (3).
- Torque each bolt to 34 N m.
- Attach Capture Arm to Swivel Base. (J-Bracket):
- Insert J-Bracket between Capture Arm Mounting Bracket.
- Thread Bolts (3) with Washers (3) through Mounting Bracket and J-Bracket.
- Thread Washers (3) and Locking Nuts (3) to Bolts (3).
- Tighten all Bolts (3) to Locking Nuts (3).
- Install Flex Hose:
- Mount Flex Hose to Swivel Base and capture Arm.
- Tighten Both Hose Clamps.
As Required:
- Tighten arm bolts to keep the arm supported.
Yearly Inspection:
- Clean unreadable labels and exterior surfaces.
- Check for tears in flex hoses and fitting of hose clamp.
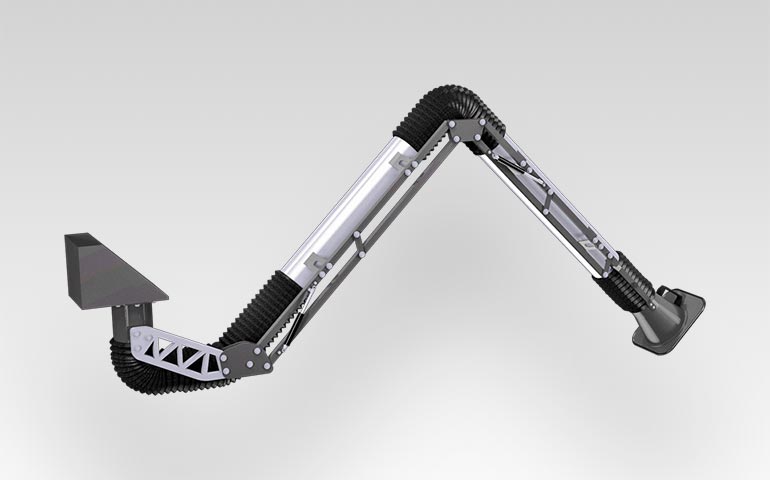
Troubleshooting
- Check bolts to see if they’re loose. If so, tighten bolts gradually. Be careful not to overtighten.
- The bolts of the clutches are tightened too much, to the point of overcoming the resistance of the junctions. Loosen the bolts of the clutches and replace the pipes:
- The forearm tube of connection hood. (Replacement can be done by customer.)
- The part of the pipe where there’s a spring. (Replacement must be done by manufacturer for safety reasons.)
- There was wear, drilling and/ or abrasion caused by incandescent material extracted by the arm. Remove and replace hose clamps.